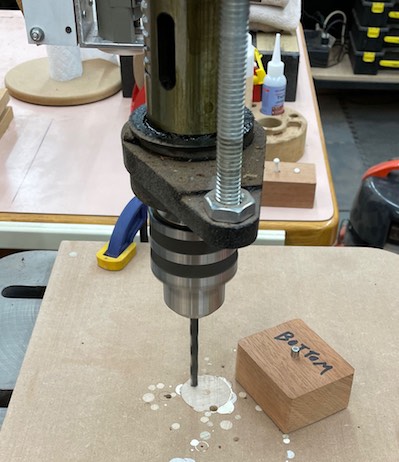
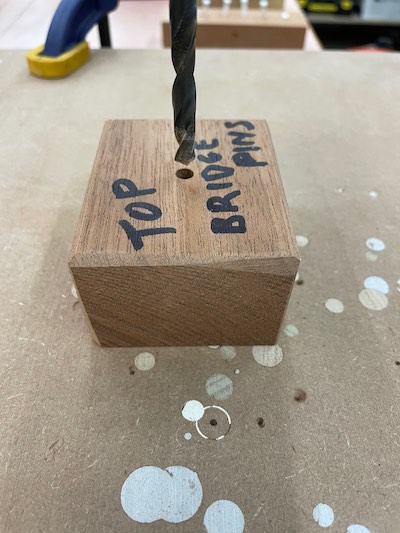
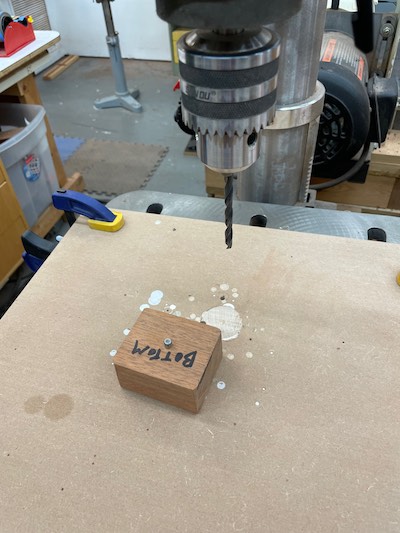
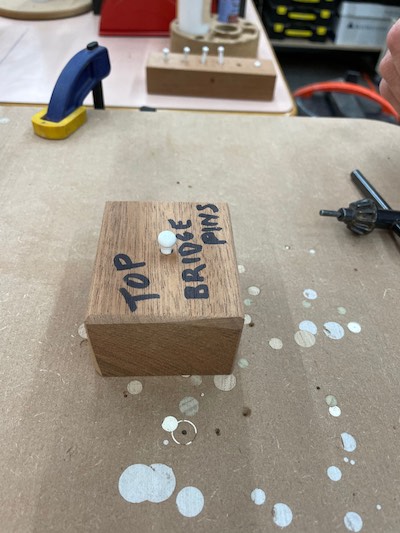
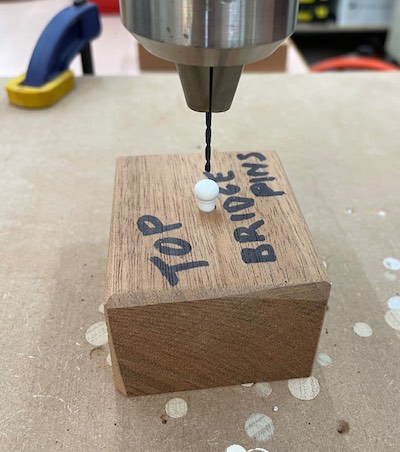
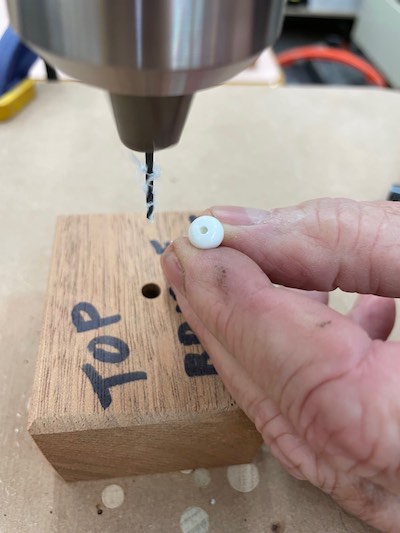
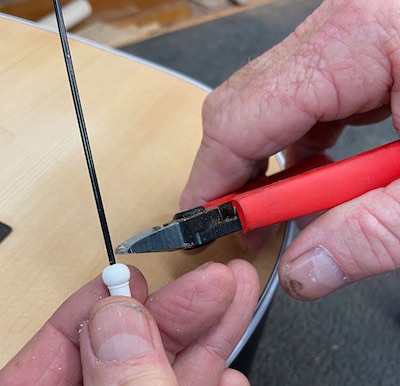
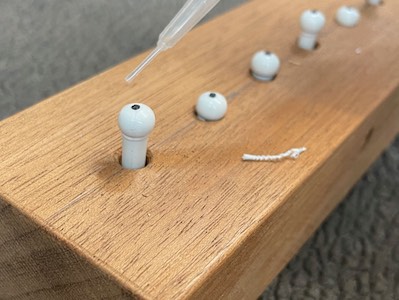
Inlaying bridge pins would, at first glance, seem to be a very difficult thing to do. However, using a fundamental process of jig making (knowing where your cut line or hole is drilled) makes this a relatively simple procedure. First, drill a 1/4” hole in a secured false table top on your drill press. After drilling do NOT move the table! Next, take a scrap piece of wood and drill a 1/4” hole in the bottom of the scrap. Insert a 1/4” dowel into the scrap wood. Now, if you flip the scrap over and insert the dowel into the hole drilled into the table top, the drill bit will be exactly centered over the hole. Take the drilled scrap and, from the top, drill a 3/16” hole 1” deep. Use your reamer to allow a bridge pin to sit in the hole. At this point, any bridge pin you put in the hole will be exactly centered on the pin in the table top. The next step is to change the 1/4” bit in the drill press to whatever size bit you need to use to fit your inlay. The example shown here is a 1/16” bit. Insert the bit and drill a hole in the bridge pin. It will be exactly centered on the head of the bridge pin! Inlay your material (here it is 1/16” black plastic), superglue in place and you are done! |
|